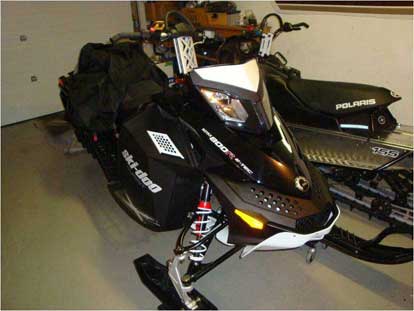
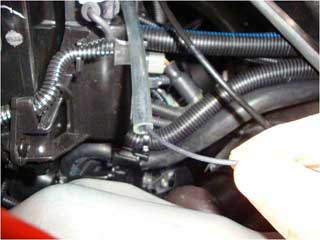
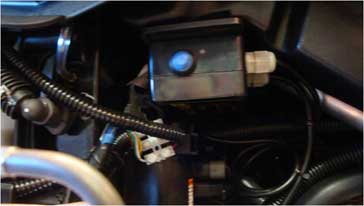
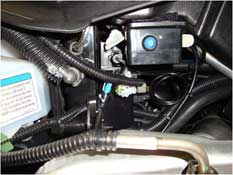
The Summit E-TEC is packed tight under the hood and finding a good place to install the Cord-less Teth-Air provided us with a bit of challenge but we were more than satisfied with the results.

We decided that we would farther challenge ourselves by installing with the muffler in place and also decided that we wanted to stay away from the clutch side as an exploding belt can do a lot of damage.
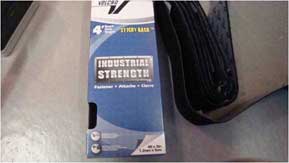
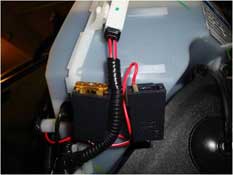
After much thought, we decided that the best mounting location was on the air box. We found sticky back industrial strength Velcro to be the best solution to avoid drilling holes in the air box. We used 2 inch wide product that is available at most hardware stores.
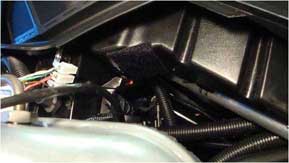
The soft half of the Velcro was stuck to the air box as it is most flexible and molds easier around the corners. Always use alcohol or other solvent to clean both surfaces before applying as a melted Teth-Air that has fallen on to the muffler is not covered under warranty.
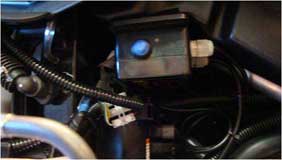
This location is ideal as the pushbutton and LED indicator are visible and easily accessed.
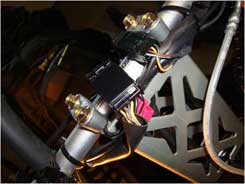
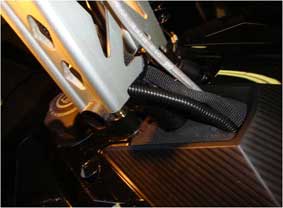
Rather than pulling the entire sled apart, we decided the best way to bring up the antenna to the handle bars was to use a 3/8th piece of tubing as a guide tool. First, push a 12+ inch piece of tubing through The slot in front of the riser.
|
|
Next, locate the tube as it comes through above the motor. Stick the antenna tip (with cover installed) into the tube for a snug fit. Slowly pull the tubing back out and this should bring the antenna wire up to the riser.
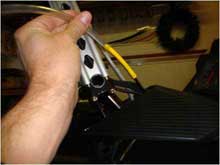
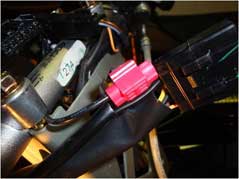
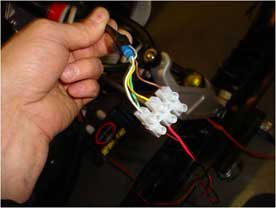
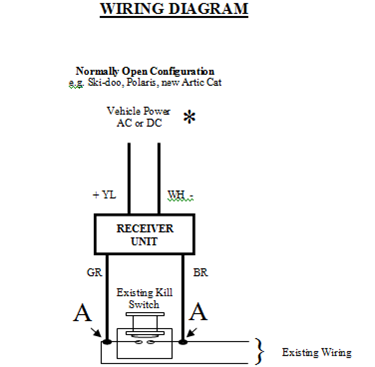
We found the easiest connection to the sleds kill switch was on the handlebars under the rubber pad. The black with yellow wire on the left side of the connector is the wire we need to tap in to.
We also needed to bring up a wire for this connection. We used the tubing again to draw up a 24 inch wire that we had found in our scrap drawer. The brown wire from the Teth-air can be separated from the 5 wire insulated sheathing and brought to this plug if you do not want to run your own wire. Again, we used the tubing to pull the wire.
|
|
|
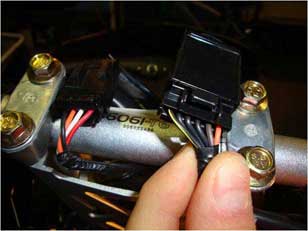
You can use the Scotch Lock connectors provided (above right) to make your connections. Or, for a more permanent installation, soldering is preferred. It was tedious to remove the insulation without cutting the wire so if you solder be patient. Goop glue or liquid electrical tape products allow for coating the connection.
|
|
|
|
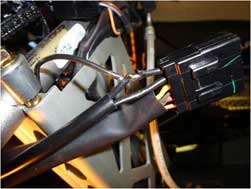
After covering the wires with some split loom to protect it, (top left) it was time to make the final connections. We used a 3 position terminal strip (bottom right) to connect the wire from the handle bar connector to the brown Teth-Air wire. We used another scrap wire (in split loom) to connect the white wire and the green wire to ground. We used the bolt for the side panel strap for the ground. (Top right.)
|
|
|
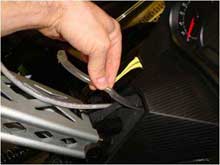
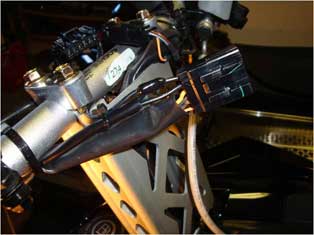
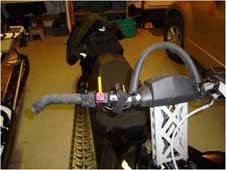
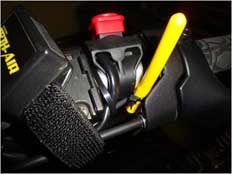
The yellow antenna cover must be vertical and near the wrist where the transmitter is worn. The pink shrink tubing can be removed if desired.
Using the wire ties provided, install the antenna near the throttle lever. Avoid any obstructions between the antenna and the wrist worn transmitter tag. Ideally the antenna will be trimmed to 20 mm.
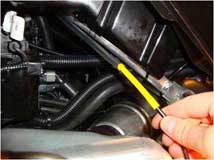
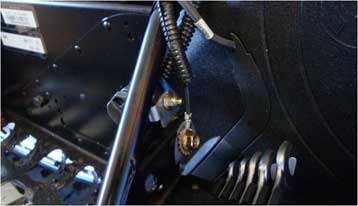
BRP provided a nice place to hook up for power. Our yellow wire was extended with this red wire to the AUX, fuse holder. We used a blade connector and plugged right on. Ideally a light fuse could be installed and used to power the Cordless Teth-Air.
|
|
|
|
The installation manual shows 2 connections to the kill switch but because the Ski-Doo has one kill switch wire already going to ground, we are able to cut into only one wire (black with yellow) and connect our brown wire to it. We then connected the green and white wires together and ran them to ground. We connected the yellow wire to the fuse near the chain case for power requirements.